✅ Quick Start Your journey with TallyPrime
Welcome to TallyPrime and TallyPrime Edit Log. Whether you are a business owner or a student, these tools are built to make complex accounting feel like a breeze.

✅ How to Launch / start Tally Prime
There are three ways to get the engine running. Choose the one that fits your style:
| Method | Instruction | Icon/Visual |
| Desktop Shortcut | Look for the Yellow & Blue “T” logo. | Double-click the icon. |
| Start Menu | Press the Windows Key and type “TallyPrime”. |
Press Enter. |
| Taskbar | If pinned to the bottom of your screen. | Single-click the icon. |
✅ TallyPrime Educational Mode
When you first open TallyPrime, a “Startup” screen will appear asking for a license. If you are learning, you don’t need a serial key!
The Shortcut: Press T (for Try it for free).
What is Educational Mode?
It is a 100% Free version of the software. Think of it as the “Full Experience” with just one tiny speed bump: The Date Restriction.
-
The Rule: You can only record transactions on the 1st, 2nd, and 31st of any month.
-
The Benefit: You get access to every single feature (GST, Payroll, Inventory, Banking) exactly as they appear in the paid version.
-
The Pro Use: It’s not just for students! Auditors and remote users use this mode to view and check data from anywhere without needing a separate paid subscription on their own laptops.
Educational Mode vs. Silver/Gold License
To help your students understand the difference at a glance:
| Feature | Educational Mode | Paid License (Silver/Gold) |
| Cost | ₹0 (Free Forever) | Monthly/Yearly Subscription |
| Transaction Dates | 1st, 2nd, and 31st only | All 365 days of the year |
| Reports | Fully accessible | Fully accessible |
| Multi-User Access | View-only for remote users | Full editing for multiple users |
| GST/Tax Filling | Available (for practice) | Available (for actual filing) |
✅ Tally Prme Home Screen |
Knowing about the Tally Prime Home Screen
1. The Top Menu Bar (Universal Tools)
The Top Bar is your “Command Center.” It stays visible no matter which report or voucher you are currently viewing.
| Feature | Shortcut | Primary Function |
| K: Company | Alt + K |
Manage Company data (Create, Alter, Shut, or Select). |
| Data Exchange | Alt + Z |
Synchronize data between different offices/branches. |
| Import / Export | Alt + O / E |
Move masters and vouchers to/from Excel, XML, or PDF. |
| Share | Alt + M |
Email reports or WhatsApp invoices directly to clients. |
Ctrl + P |
Print the current screen, voucher, or formal report. | |
| G: Go To | Alt + G |
The “Google” of Tally. Jump to any report instantly. |
| SmartFind | Alt + F |
New in 7.0: Search for a GSTIN, Cheque No., or Narration. |
2. Navigation Hubs: Classic vs. Modern
TallyPrime now offers two ways to view your home screen depending on whether you prefer data entry or data analysis.
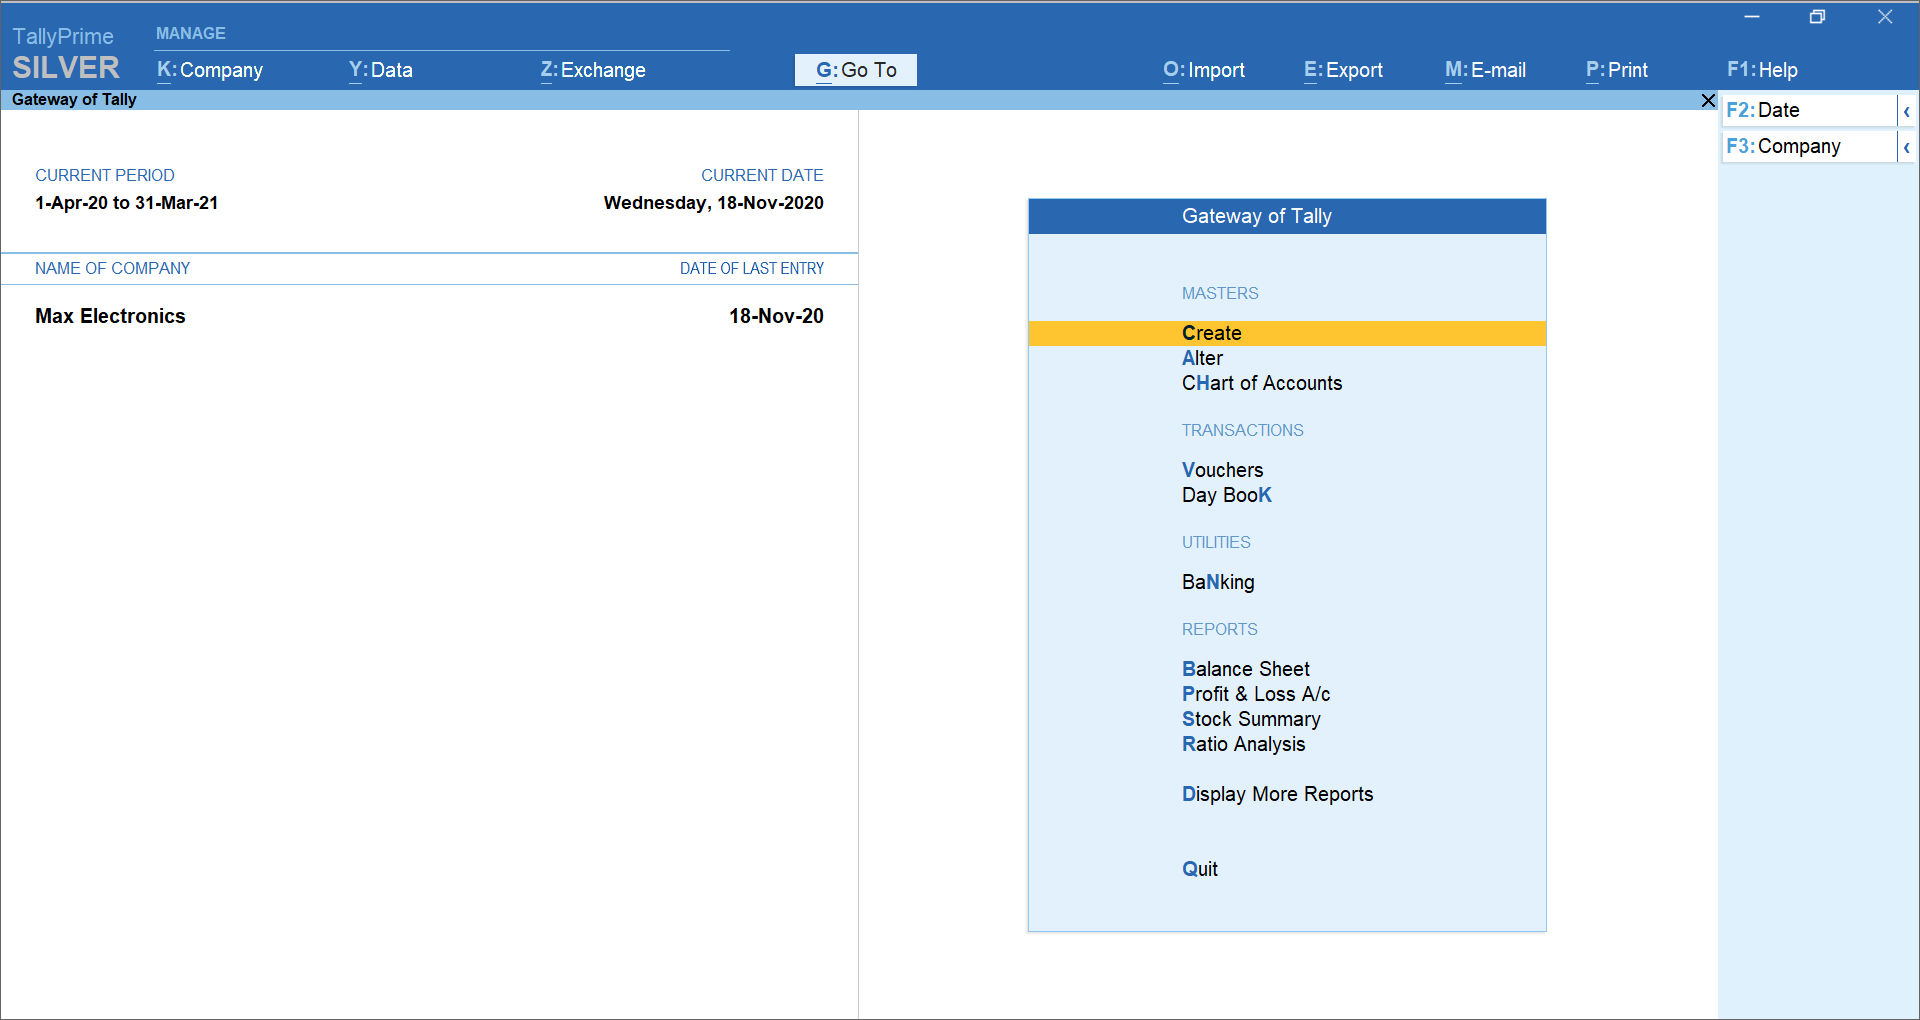
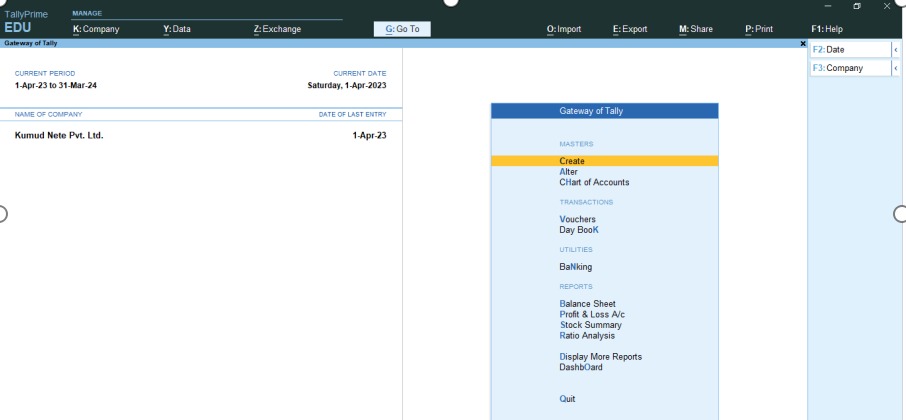
A. The Gateway of Tally (Classic Home)
The functional heart of the software, divided into four logical pillars:
-
Masters: The “Setup” zone (Create, Alter, Chart of Accounts).
-
Transactions: The “Daily Work” zone (Vouchers, Day Book).
-
Utilities: The “Logistics” zone (Banking, Connected Services like TallyDrive).
-
Reports: The “Output” zone (Balance Sheet, P&L, Stock Summary).
B. The Business Dashboard (Modern Home – New in 7.0)
You can now set a visual dashboard as your landing page via F1: Help > Settings > Startup.
-
Visual Tiles: Graphical representations of Sales Trends and Cash Flow.
-
Real-time Insights: See your “Top 5 Customers” or “Pending Reconciliations” immediately.
-
Customization: Use
Alt + Ato add tiles orAlt + Dto remove them to keep your view clean. 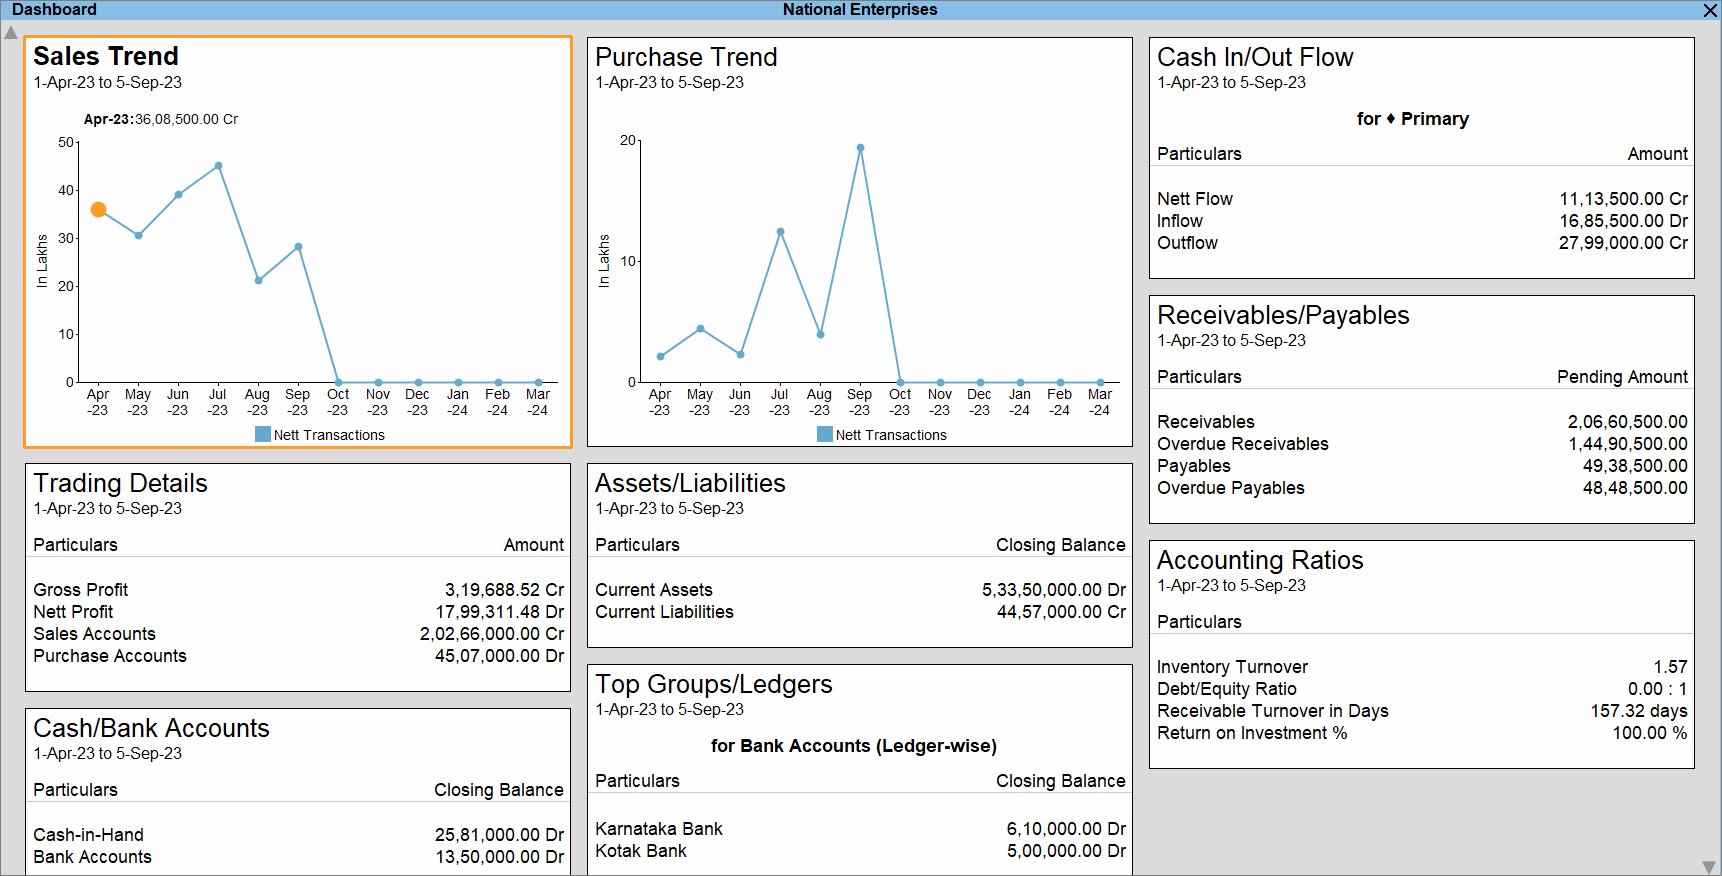
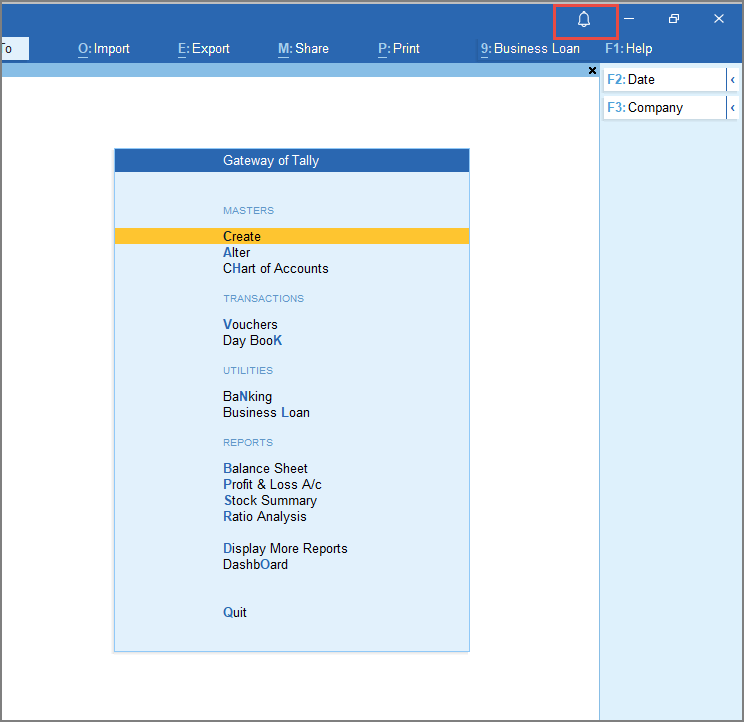
3. Status & Information Panels
These panels provide context to your current work session.
-
Left Panel: Displays the Active Company Name in bold and the Date of Last Entry (crucial for ensuring you aren’t working in the wrong period).
-
Right Panel (Button Bar): A dynamic list of shortcuts like
F2(Date) orF3(Company). These change based on the screen you are using. -
Notification Bell: New in 7.0! A red dot here alerts you to:
-
Pending GST actions.
-
License expiry warnings.
-
Successful Auto-Backup status.
-
✅ Quitting / Close a Tally Prime
Depending on how much of a hurry you are in, there are three ways to exit:
The “Quit” Board Style
| Screen Element | Appearance/Action |
| Dialog Box | A small, centered pop-up window appearing over the “Gateway of Tally.” |
| Message | “Quit? Yes or No” |
| Standard Action | Press Y or Enter to exit; press N or Esc to stay. |
Ways to Reach the Quit Screen
There are three primary ways to close TallyPrime, depending on whether you prefer the keyboard, mouse, or a quick “silent” exit.
-
The Standard Way (Esc):
-
Press the Esc key repeatedly from any screen until you reach the Gateway of Tally.
-
One final Esc press will trigger the “Quit? Yes or No” dialog.
-
-
The Fast Exit (Ctrl+Q):
-
If you want to bypass the standard exit flow, press Ctrl+Q.
-
This is the “Quit” shortcut that closes the application immediately from almost any screen.
-
-
The Power User Shortcut (Alt+F4):
-
As a Windows-based application, TallyPrime also responds to the classic Alt+F4 command to shut down the softwar
-
Pro-Tip: The Help & Settings Menu (F1)
If your data feels sluggish or you need a new feature, use the Help Menu:
-
TDL & Add-On: Manage custom extensions built for your specific industry.
-
Troubleshooting: Use this to Repair or Rewrite data if you experience a sudden power failure while Tally was open.